Best Postpartum Yoga Poses Part Two
In part one we covered The Benefits of Postpartum Yoga as well as 8 yoga poses that you could do sequentially in a safe postpartum yoga flow, make sure to check it out here. In this article, we'll continue to explore a safe selection of postpartum yoga poses specifically designed for new moms. These poses offer numerous benefits, helping you regain strength, relieve stress, enhance flexibility, and promote relaxation.
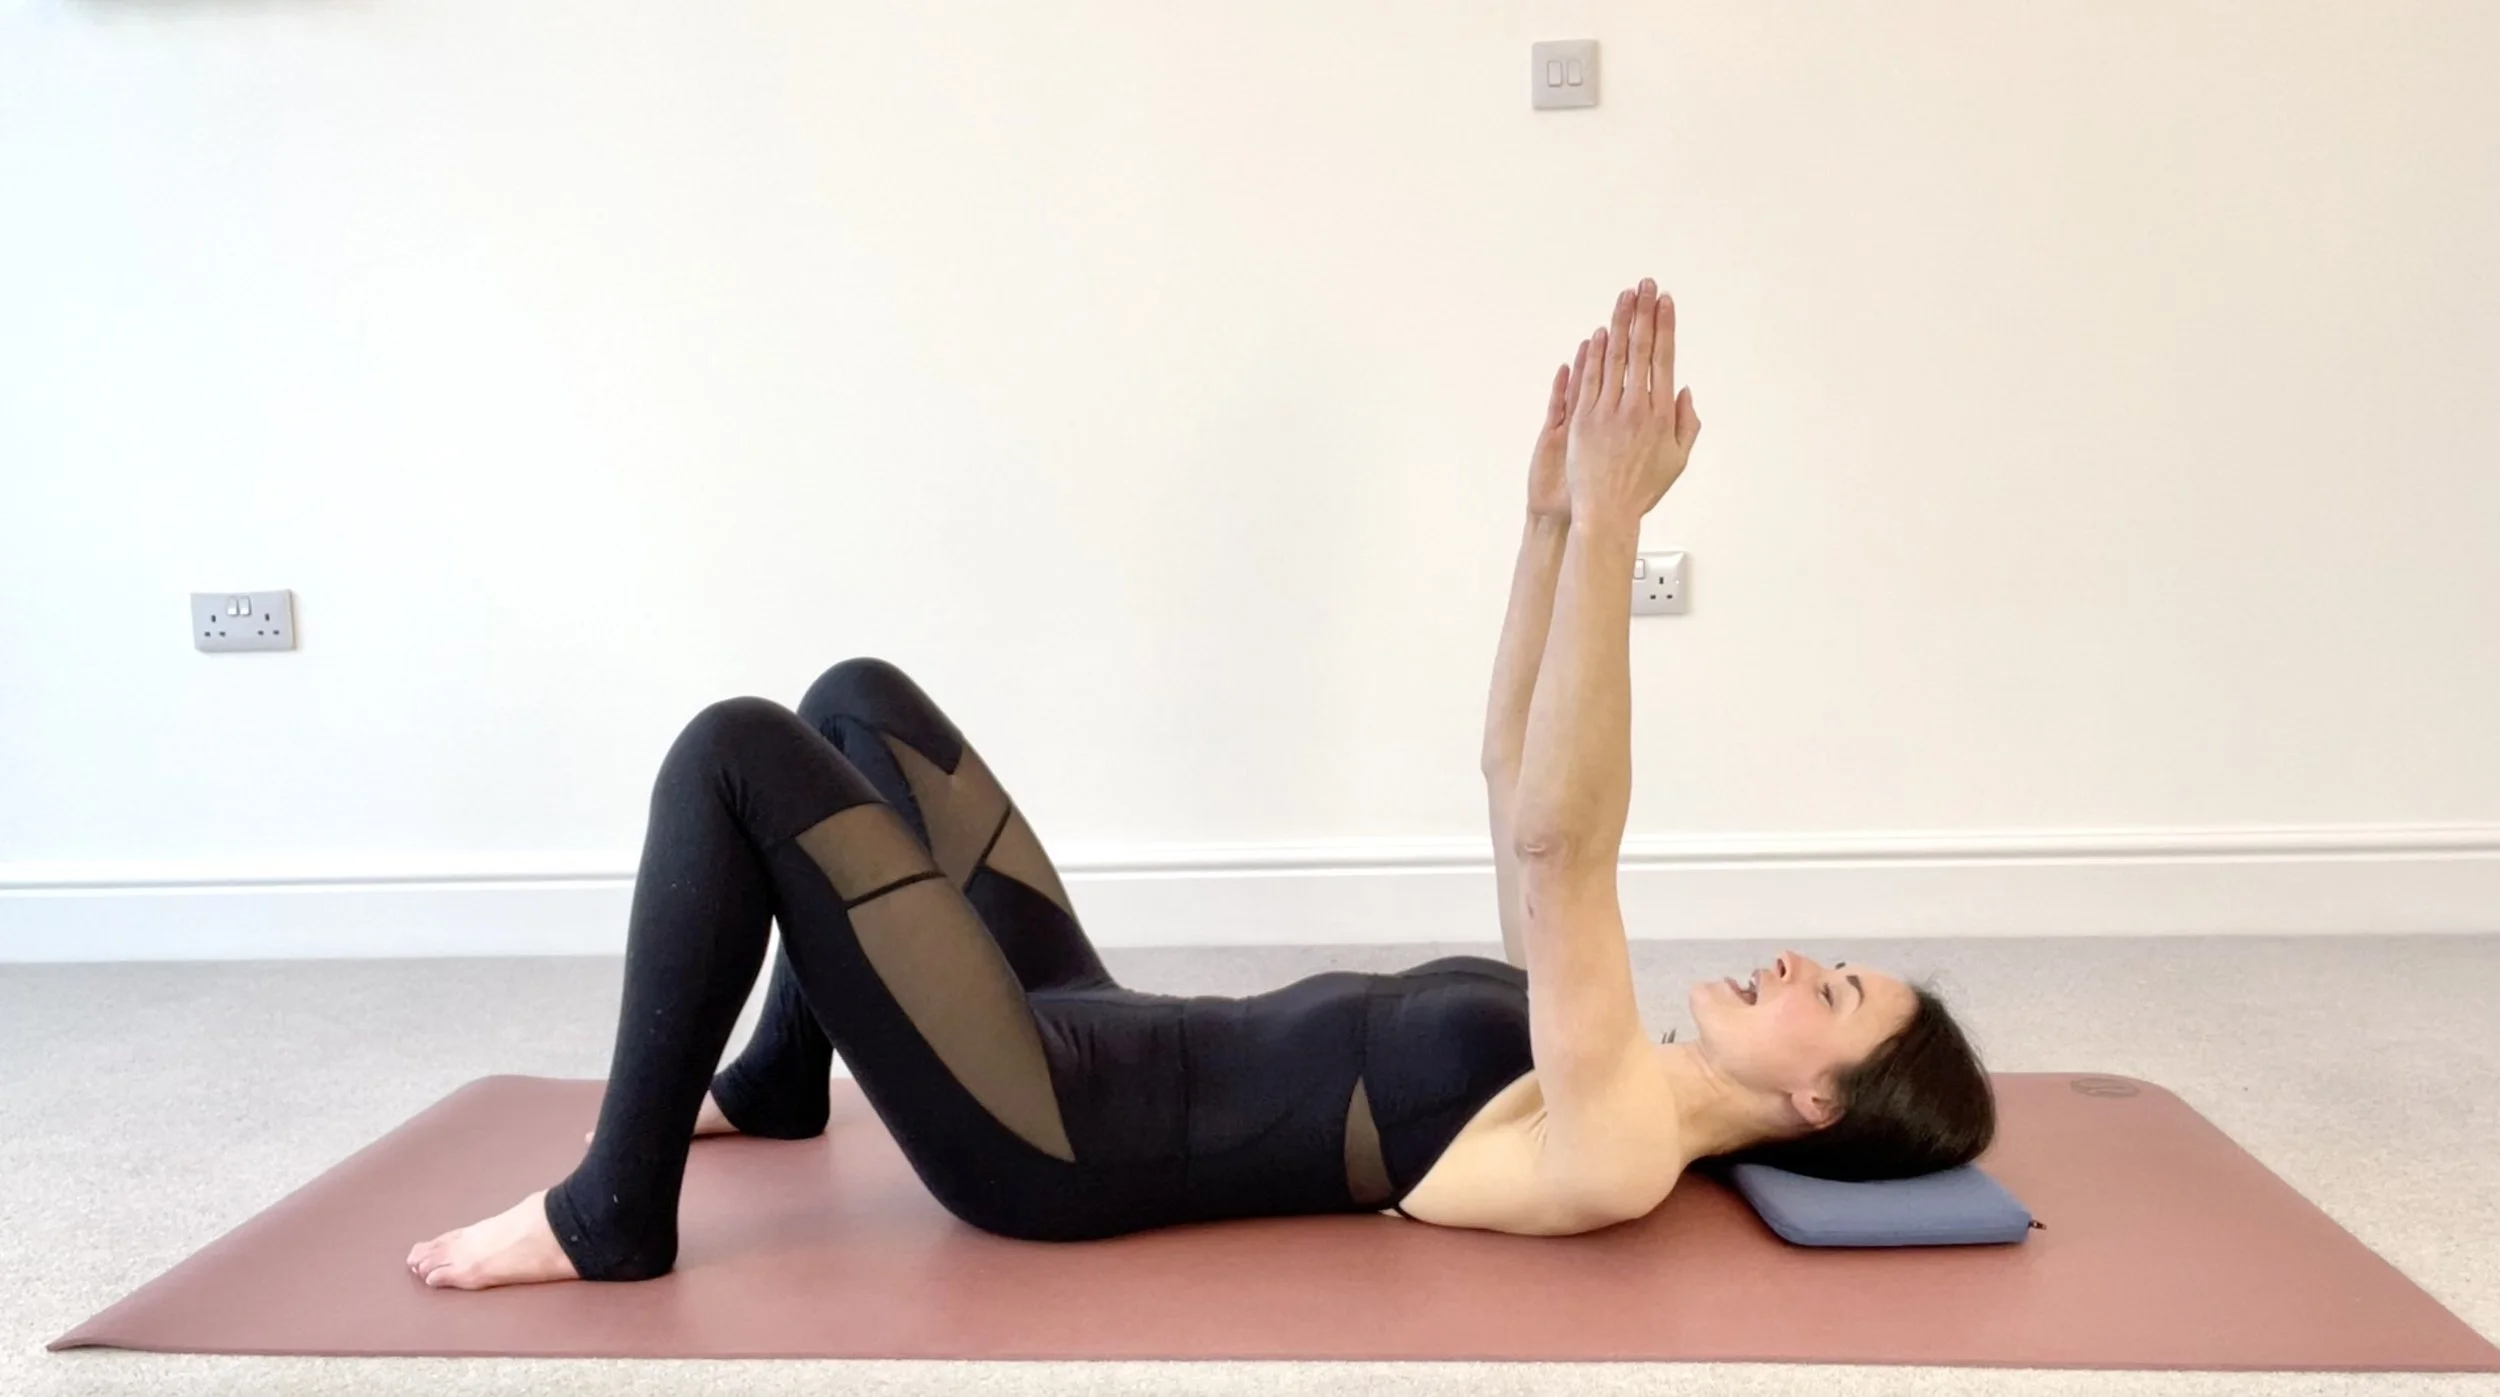
Pelvic Tilts
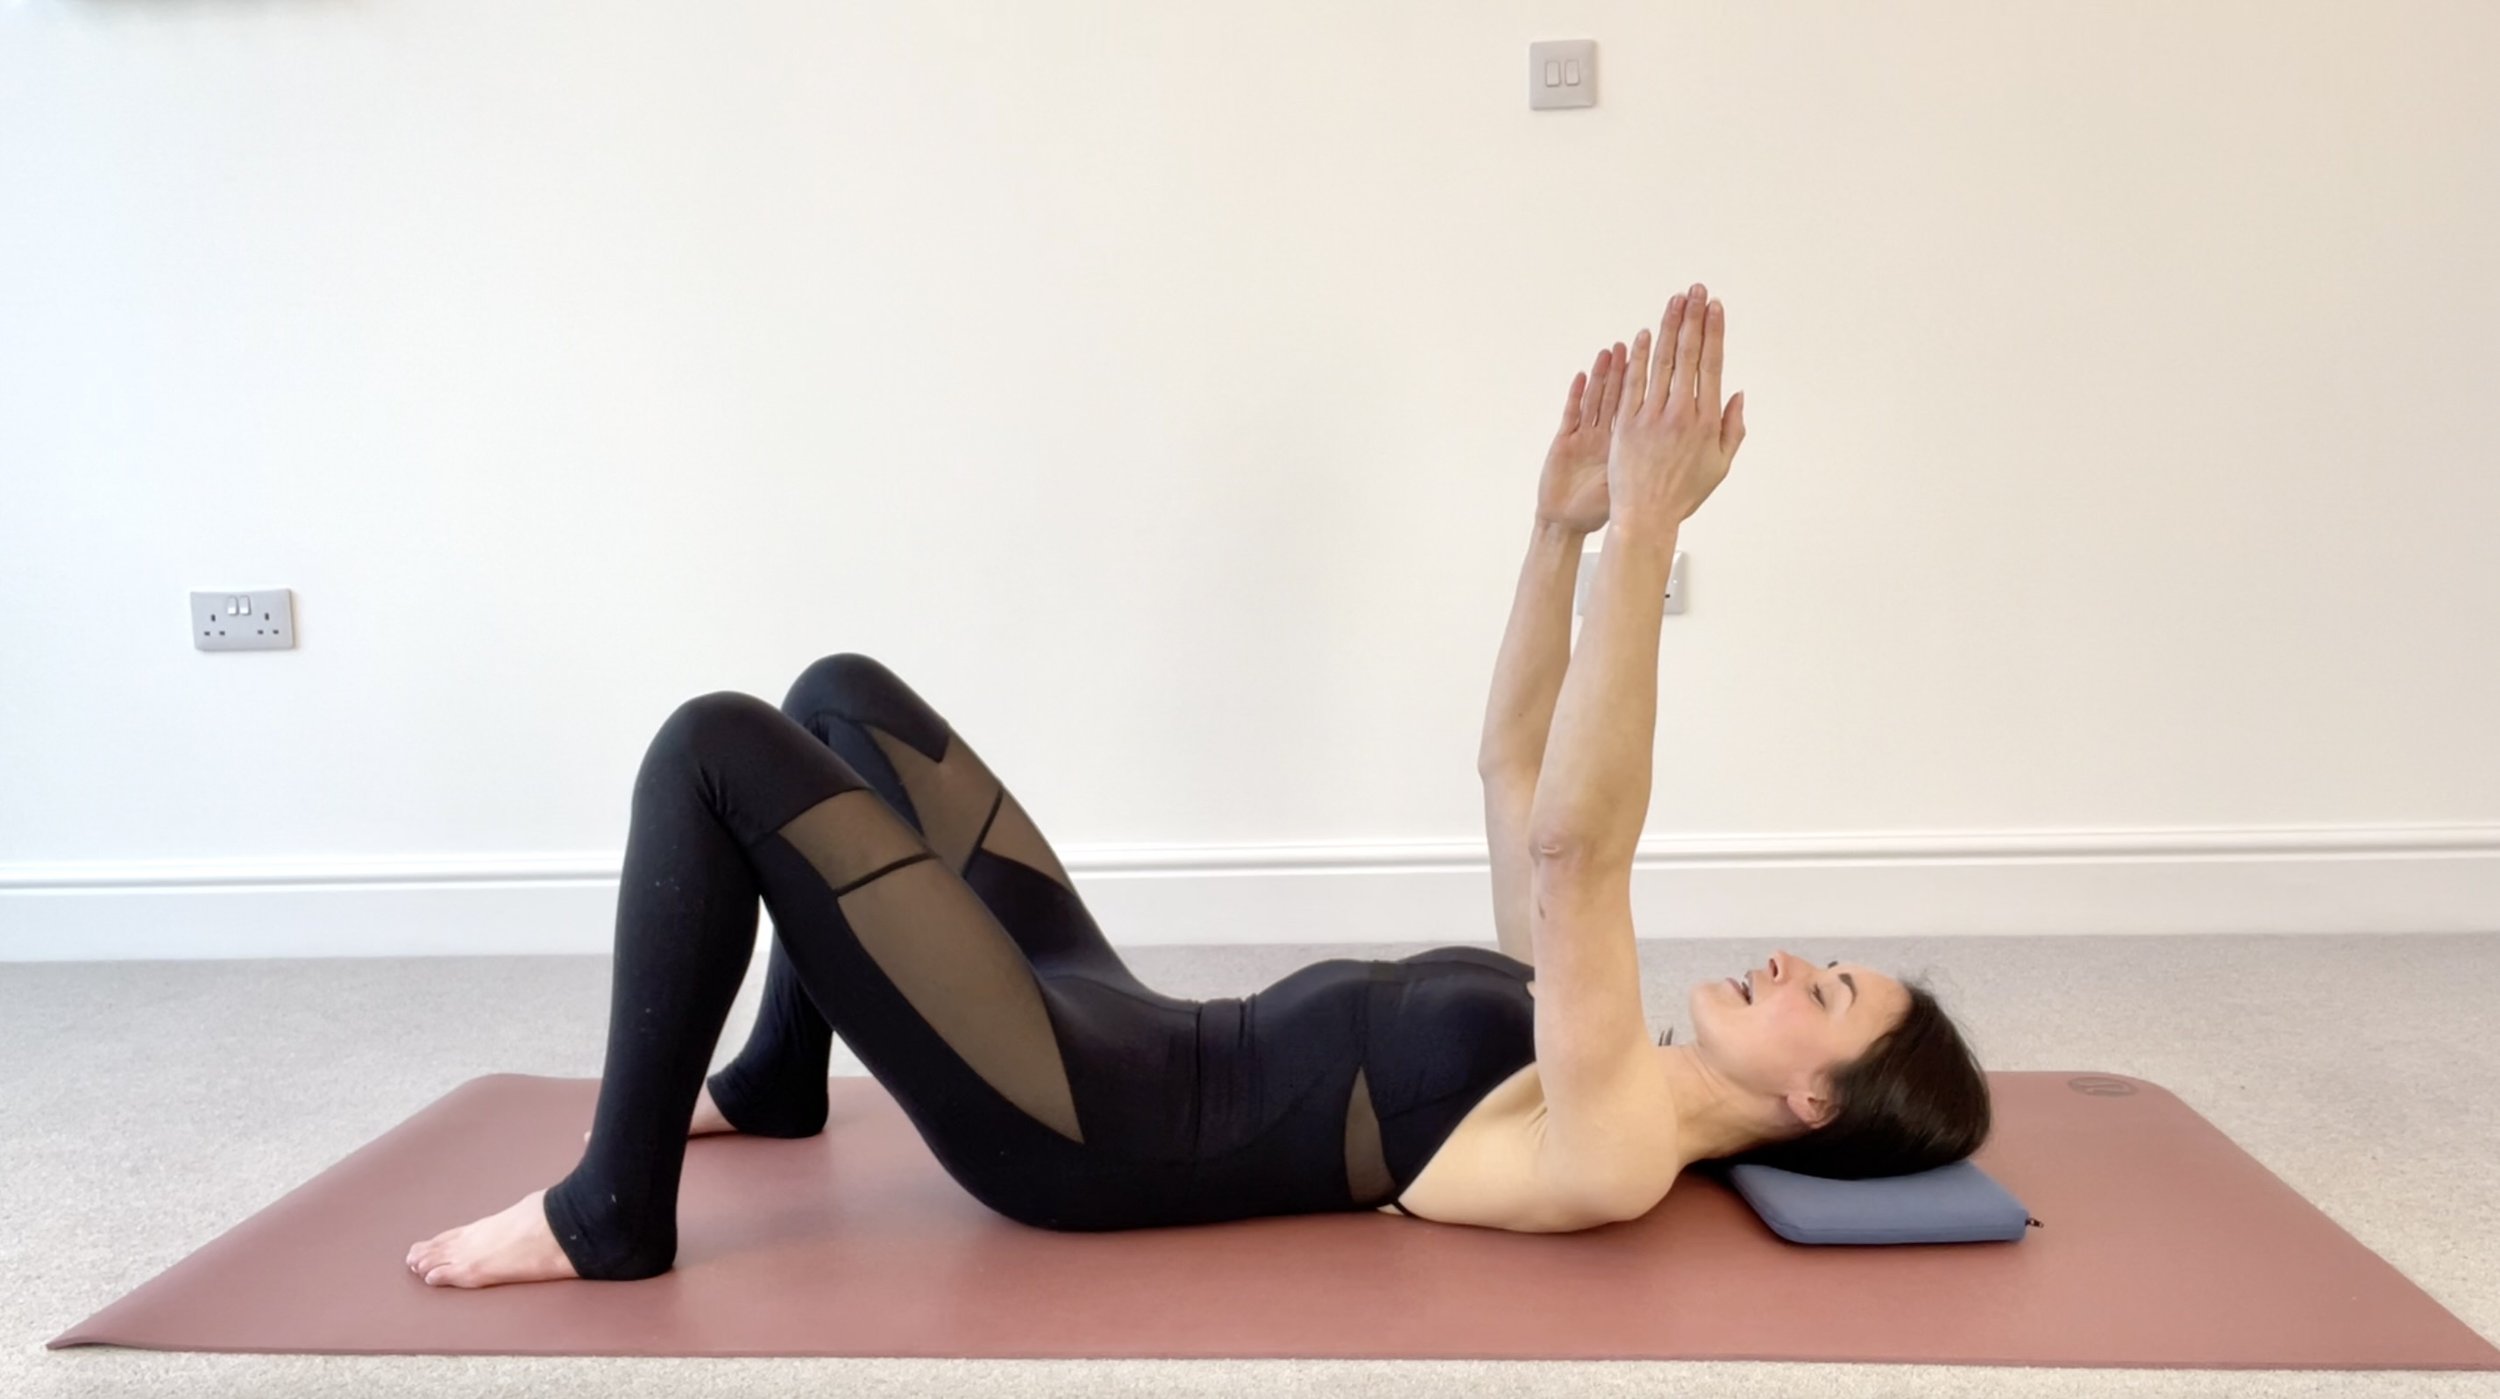
Pelvic tilts are a gentle and effective exercise that targets the muscles of the lower back, abdomen, and pelvis. This simple movement helps to improve core stability, release tension in the lower back, and promote a balanced alignment of the pelvis. Here's how to do it:
Start by lying on your back with your knees bent and your feet flat on the ground. Place your arms by your sides, palms facing down. Take a moment to relax your body and settle into a comfortable position.
As you inhale, engage your abdominal muscles and press your lower back into the mat. Imagine flattening the curve of your lower back against the floor. This movement will tilt your pelvis posteriorly, creating a gentle contraction in your lower abdominals.
Hold this position for a few seconds while maintaining a relaxed breath. Focus on the engagement of your core muscles and the connection between your lower back and the mat.
Exhale and slowly release the engagement, allowing your lower back to return to its neutral position. This will naturally create a slight arch in your lower back as your pelvis tilts anteriorly.
Repeat the movement, inhaling to engage and press your lower back into the mat, and exhaling to release and allow your lower back to arch slightly. Move with control and maintain a smooth and steady rhythm.
Continue to perform pelvic tilts for several rounds, paying attention to the sensations in your lower back, abdomen, and pelvis. Focus on the quality of the movement rather than the quantity, allowing yourself to gradually explore a comfortable range of motion.
Modifications and variations:
If lying on your back is uncomfortable, you can perform pelvic tilts in a seated position. Sit on a chair or the edge of a cushion with your feet flat on the ground, and follow the same movement of tilting your pelvis forward and backward.
For a more challenging variation, you can perform pelvic tilts on an exercise ball or a foam roller. This adds an element of instability, requiring more core strength to maintain balance.
Benefits of Pelvic Tilts:
Strengthens the deep abdominal muscles, including the transverse abdominis, which helps stabilize the spine and improve posture.
Releases tension in the lower back and promotes relaxation in the lumbar region.
Enhances body awareness and improves the mind-body connection by focusing on the movement and alignment of the pelvis.
Can be beneficial during pregnancy to maintain core strength and alleviate lower back discomfort.
Provides a gentle warm-up exercise for the core muscles before engaging in more intense physical activity.

Beginners modification: feet remain on the ground
Locust Pose
Locust Pose, also known as Salabhasana, is a powerful backbend that strengthens the muscles of the back, buttocks, and legs. It promotes spinal flexibility, improved posture, and increased energy flow. Here's how to do it:

Start by lying on your belly with your legs extended behind you and your arms resting alongside your body. Place your forehead on the mat, allowing your neck to be in a neutral position.
Engage your abdominal muscles and lengthen your tailbone towards your heels to create a strong foundation. Keep your legs active and press the tops of your feet firmly into the mat.
As you inhale, lift your head, chest, and legs off the mat simultaneously. Extend your arms back alongside your body with your palms facing down. Keep your gaze forward, avoiding any strain on the neck.
Imagine lengthening both your torso and legs, reaching them away from each other. Feel the strength and activation in your back muscles as you lift higher.
Keep your shoulders relaxed and away from your ears, allowing your shoulder blades to move down your back. Continue to engage your core muscles to support the pose.
If it feels comfortable, you can further lift your arms and legs higher, creating a deeper backbend. However, always listen to your body and work within your own range of motion without causing any pain or discomfort.
Hold the pose for a few breaths, maintaining a steady and even breath. Feel the energy circulating through your body as you actively engage your muscles.
To release the pose, exhale and slowly lower your head, chest, and legs back down to the mat. Rest in a neutral position, allowing your body to relax and integrate the effects of the pose.
Modifications and variations:
If lifting both legs simultaneously is challenging, you can practice the pose with one leg at a time, alternating between them.
For additional support, you can place a folded blanket or bolster under your pelvis to elevate and cushion the area.
Benefits of Locust Pose:
Strengthens the muscles of the back, including the erector spinae, promoting improved posture and spinal stability.
Tones and firms the buttocks and legs, enhancing overall lower body strength.
Stimulates the digestive system and massages the abdominal organs, supporting healthy digestion.
Increases flexibility in the spine, improving mobility and relieving tension in the back.
Boosts energy and invigorates the body by activating the muscles and increasing blood flow.
Note: As with any yoga pose, if you have any specific medical conditions, injuries, or concerns, it's advisable to consult with a qualified yoga instructor or healthcare professional before practicing Locust Pose or any other yoga pose. Honor your body's limitations, and gradually work towards building strength and flexibility over time.

Warrior one Pose
Warrior I Pose, or Virabhadrasana I, is a powerful standing yoga pose that cultivates strength, stability, and focus. It stretches and strengthens various parts of the body while promoting a sense of grounding and inner strength. Here's how to practice Warrior I Pose:
Start by standing at the top of your yoga mat with your feet hip-width apart. Take a step back with your left foot, turning it slightly outward at about a 45-degree angle. Your right foot should be pointing forward.
Bend your right knee and lower your hips into a lunge position. Ensure that your right knee is directly above your ankle, forming a 90-degree angle. Ground your left heel firmly into the mat.
As you inhale, raise both arms overhead, reaching toward the ceiling. Allow your shoulder blades to relax down your back, creating space and length in your spine. Gently lift your gaze to the space between your palms or keep your eyes forward.
Engage your core muscles by drawing your navel toward your spine. Press firmly through the outer edge of your back foot and the ball of your front foot. Feel a sense of stability and strength in your lower body.
Relax your shoulders away from your ears and soften your facial muscles. Breathe deeply and evenly, allowing your breath to flow smoothly through your body.
Hold Warrior I Pose for 5 to 10 breaths, or as long as it feels comfortable for you. Feel the strength and stability in your legs, the opening of your hips, and the expansion of your chest and lungs.
To release the pose, exhale and lower your arms back down to your sides. Straighten your right leg and step your feet together at the top of your mat. Take a moment to observe any changes or sensations in your body.
Modifications and variations:
If you have difficulty balancing or feel strain in your back leg, you can place a folded blanket or a yoga block under your back heel for additional support.
If you experience discomfort in your shoulders, you can bring your hands into prayer position at your heart center or keep them on your hips instead of raising them overhead.
If you have tight hips or limited flexibility, you can shorten your stance by bringing your feet closer together or adjust the angle of your back foot slightly to find a more comfortable position.
Benefits of Warrior I Pose:
Strength and stability: Warrior I Pose strengthens the legs, including the quadriceps, hamstrings, and calves, promoting overall lower body strength and stability.
Improved posture and alignment: The pose helps open the chest and shoulders, improving posture and spinal alignment.
Hip and groin opening: The lunge position of Warrior I stretches the hip flexors and groin muscles, increasing flexibility in these areas.
Increased focus and concentration: The grounding nature of the pose enhances mental focus and concentration, fostering a sense of calm and centeredness.
Energizing and empowering: Warrior I Pose generates a feeling of inner strength, courage, and empowerment.

Warrior two Pose
Warrior II Pose, or Virabhadrasana II, is a dynamic standing yoga pose that promotes strength, stability, and balance. It is named after the fierce warrior Virabhadra and represents strength and determination. Warrior II Pose opens the hips, strengthens the legs, and cultivates a sense of focus and groundedness. Here's how to practice Warrior II Pose:
Start by standing at the top of your yoga mat with your feet hip-width apart. Take a step back with your left foot, keeping it parallel to the back edge of your mat. Your right foot should be pointing forward.
Extend your arms out to the sides, parallel to the ground. Your arms should be in line with your shoulders, creating a straight line from fingertip to fingertip. Keep your palms facing down.
Bend your right knee, ensuring that it aligns directly above your right ankle. Your thigh should be parallel to the ground, forming a 90-degree angle. Ground down through the outer edge of your back foot.
Turn your gaze to the right, looking over your right fingertips. Keep your neck aligned with your spine and maintain a soft gaze. Relax your shoulders away from your ears.
Engage your core muscles by drawing your navel toward your spine. Feel a sense of grounding and stability in your lower body. Press firmly through the outer edge of your back foot and the ball of your front foot.
Relax your facial muscles and breathe deeply. Allow your breath to flow smoothly and evenly through your body, maintaining a steady rhythm.
Hold Warrior II Pose for 5 to 10 breaths, or as long as it feels comfortable for you. Feel the strength and stability in your legs, the opening of your hips, and the expansion of your chest.
To release the pose, straighten your right leg, turn your feet to face forward, and bring your arms down to your sides. Take a moment to observe any changes or sensations in your body.
Modifications and variations:
If you have difficulty balancing or feel strain in your back leg, you can widen your stance slightly or use a wider stride.
If you have limited flexibility in your hips, you can shorten your stance by bringing your feet closer together.
If you experience discomfort in your shoulders or neck, you can lower your arms and rest your hands on your hips instead of extending them out to the sides.
Benefits of Warrior II Pose:
Strengthened legs: Warrior II Pose strengthens the quadriceps, hamstrings, and calves, providing stability and support to the legs.
Improved hip flexibility: The pose opens the hips and stretches the hip flexors and groin muscles, promoting greater flexibility in these areas.
Increased core strength: Engaging the core muscles helps build strength and stability in the abdominal region.
Improved focus and concentration: The outward gaze and steady breathing in Warrior II Pose enhance focus, concentration, and mindfulness.
Enhanced body awareness: Practicing Warrior II Pose encourages a deeper connection with the body and cultivates a sense of physical and mental grounding.

Savasana Pose (Corpse Pose)
Savasana, also known as Corpse Pose, is a deeply relaxing and restorative yoga pose that is typically performed at the end of a yoga practice. It is a time for complete surrender and conscious relaxation, allowing the body and mind to integrate the benefits of the practice. Here's how to do it:
Find a quiet and comfortable space where you can lie down on your back. Use a yoga mat or a soft surface such as a carpet or blanket. You may also use a bolster or folded blanket to support your head and a rolled-up blanket or bolster to support your knees if desired.
Lie down on your back with your legs extended and slightly apart, and your arms relaxed alongside your body. Allow your feet to fall open naturally, with the toes pointing outward. Rest your hands gently on the mat, palms facing up. Close your eyes and take a few deep breaths to settle into the pose.
Bring your awareness to different parts of your body, starting from your toes and slowly moving upward. With each exhale, consciously release any tension or tightness you may be holding. Relax your feet, ankles, and calves. Soften your knees, thighs, and hips. Relax your abdomen, chest, and shoulders. Let go of any tension in your arms, hands, and fingers. Soften your neck, face, and jaw.
Allow your body to completely surrender to gravity. Release any effort or control, and let the ground support you. Feel a sense of heaviness, as if sinking deeper into relaxation with each breath.
Focus on your breath and let it flow naturally. Observe the rise and fall of your abdomen with each inhale and exhale. Allow your breath to be smooth and effortless, without trying to change or control it.
As you rest in Savasana, bring your attention to the present moment. Let go of any thoughts or worries that may arise, allowing them to pass like clouds in the sky. Cultivate a sense of inner stillness and tranquility.
Remain in Savasana for 5 to 10 minutes, or longer if you have the time and desire. When you're ready to transition out of the pose, begin to deepen your breath and gently wiggle your fingers and toes. Stretch your arms overhead and take a full-body stretch. Roll onto your right side in a fetal position, using your right arm as a pillow. Take a few moments to rest and integrate the benefits of the pose.
Modifications and variations:
If lying flat on your back is uncomfortable, you can place a folded blanket or bolster under your knees for added support.
To enhance relaxation, you can cover your eyes with an eye pillow or a folded cloth.
If you have difficulty quieting the mind, you can try guided meditation or listen to soothing music during Savasana.
Benefits of Savasana Pose:
Deep relaxation and stress relief: Savasana allows the body and mind to enter a state of deep relaxation, reducing stress and promoting overall well-being.
Integration of the practice: It gives your body and mind time to assimilate the benefits of the yoga practice you just completed.
Restoration of energy: Savasana rejuvenates the body and mind, helping to restore energy levels and promote a sense of balance.
Reduction of anxiety and insomnia: It can help alleviate anxiety and promote better sleep by calming the nervous system and inducing a state of relaxation.
Improved focus and mental clarity: By letting go of thoughts and distractions, Savasana cultivates a state of present-moment awareness and enhances mental clarity.

Knees to Heart Pose
Knees to Heart Pose, also known as Apanasana, is a gentle and nurturing yoga pose that helps release tension in the lower back, hips, and abdomen. It is often practiced to promote relaxation and relieve digestive discomfort. Here's how to do it:
Start by lying on your back on a yoga mat or a comfortable surface. Bend your knees and bring them toward your chest.
Wrap your arms around your legs, hugging your knees to your chest. You can interlace your fingers or hold onto opposite elbows. Find a comfortable grip that allows you to relax your shoulders and neck.
Close your eyes and take a deep breath in. As you exhale, gently pull your knees closer to your chest, feeling a gentle stretch in your lower back and hips. If it feels comfortable, you can gently rock from side to side, massaging your lower back against the ground.
As you hold the pose, focus on deepening your breath. Take slow, deep breaths, allowing your belly to expand with each inhale and contract with each exhale. Feel the gentle massage and release of your internal organs as you breathe.
Relax your entire body, releasing any tension or tightness. Soften your face, jaw, and shoulders. Allow your body to surrender to gravity and find a sense of ease and comfort.
Stay in Knees to Heart Pose for 5 to 10 deep breaths, or as long as it feels comfortable for you. Feel free to stay in the pose longer if you desire a longer relaxation period.
To release the pose, gently release your arms and slowly extend your legs back to the mat. Take a moment to notice any changes or sensations in your body before moving on to the next pose or transitioning to another part of your practice.
Modifications and variations:
If you have difficulty hugging your knees or it feels uncomfortable on your lower back, you can place a folded blanket or cushion between your thighs and chest for added support.
For a deeper stretch in the hips and lower back, you can gently rock from side to side while holding onto your knees, allowing your spine to move in a gentle rocking motion.
Benefits of Knees to Heart Pose:
Lower back relief: This pose gently stretches the muscles of the lower back, helping to alleviate tension and discomfort in that area.
Hip and pelvic release: The gentle compression of the knees to the chest can release tightness in the hip joints and promote relaxation in the pelvic area.
Digestive support: Apanasana can help stimulate digestion and relieve bloating or discomfort in the abdomen.
Relaxation and stress relief: Holding the pose and focusing on deep breathing encourages relaxation, calms the mind, and reduces stress and anxiety.
Improved circulation: By compressing the legs toward the chest, Knees to Heart Pose can improve blood circulation and lymphatic flow.
These 6 yoga poses can be run in sequence for a safe postpartum yoga flow.